
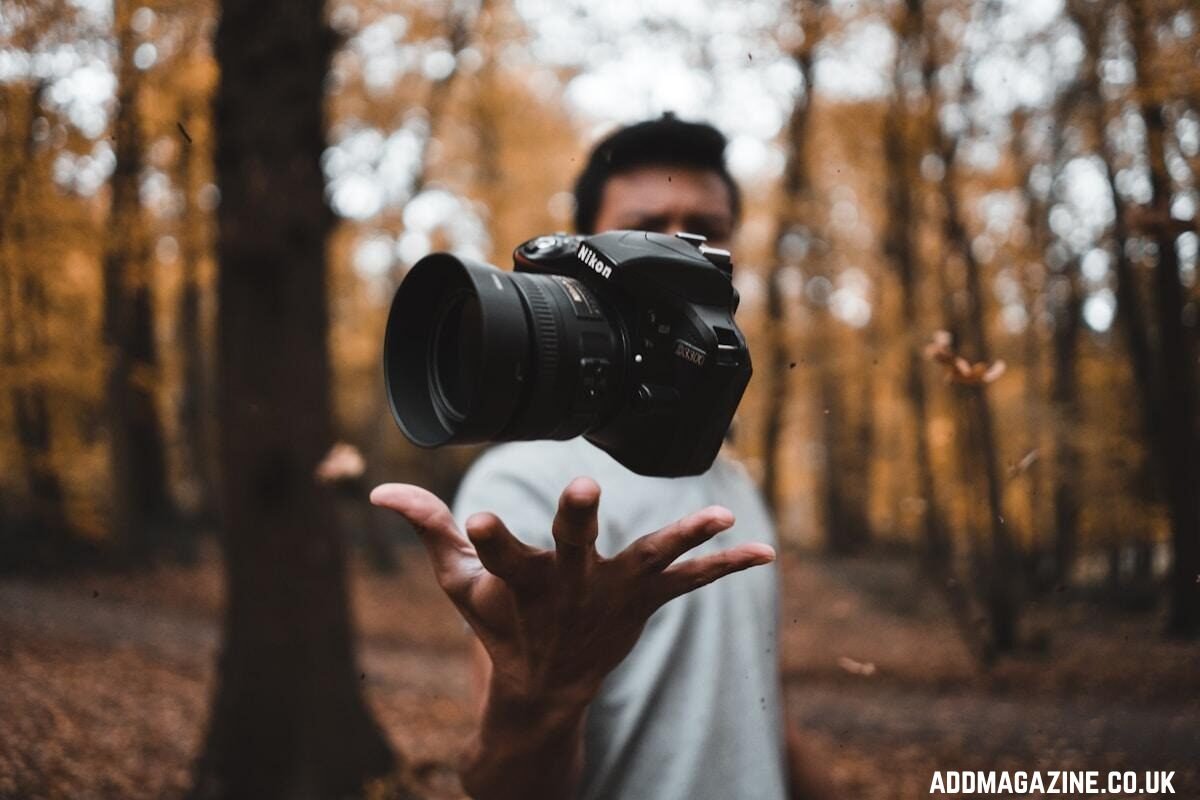
The photo on your phone is almost never the photo you remember taking.
Light shifts. Hands wobble. The subject blinks. A pet wanders into frame. For most of digital photography’s history, the fix for any of those things lived inside a desktop application that took years to learn and a monthly fee to keep running.
A new generation of AI tools now handles the work that used to require Photoshop layers, brushes, and a steady hand. The results are not perfect. They are, however, good enough that the question is no longer “should I use them” but “which ones, and for what.”
What “AI photo editing” actually means
The umbrella has gotten loose, so a quick definition is useful.
When we say AI photo editing, we mean software that does at least one of the following without you giving it step-by-step instructions: upscaling a small image into a larger one with new detail; restoring scratches and faded color on old prints; cleaning up faces in low-light snapshots; removing watermarks, objects, or backgrounds; or pushing a photo toward a stylized look painterly, cinematic, illustrated. Each of those used to be a separate skill. The models behind today’s tools have collapsed them into a click.
The interesting differences between the tools come down to three things. How broad a set they cover. How good they look on hard cases, faces, text, fabric.
A tool that produces a marginally better result but takes ten extra minutes to set up will lose to a slightly weaker tool that takes thirty seconds. Speed wins.
Top 4 AI Photo Editing Tools
1. AIEnhance.io
Best for: people who want all of the above in one place, without installing anything, and without paying until they actually need volume.
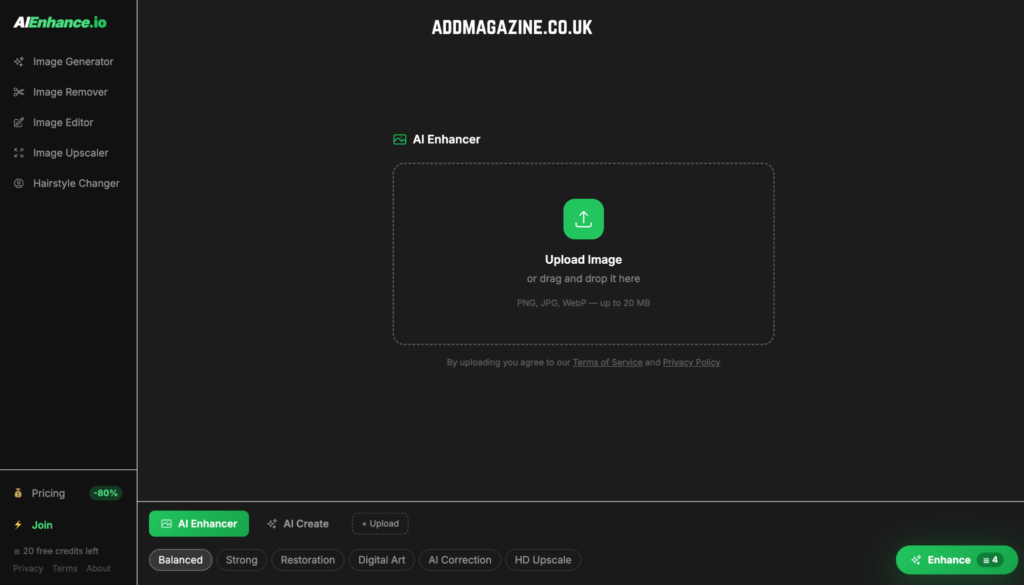
AIEnhance.io bundles enhancement, restoration, upscaling to 4K, background removal, watermark removal, object removal, hairstyle change, and a full text-to-image and image-to-image generator into one web app. Behind the scenes it runs on Real-ESRGAN, GFPGAN, FLUX, Stable Diffusion XL, and Google’s Gemini image model, but the user-facing surface is plain. Upload. Pick a mode. Get the result.
The first twenty credits are free and require no signup. That is enough to actually finish a job restoring a handful of family photographs, enhancing a batch of product shots before deciding whether the tool earns a recurring slot. Subscription plans start at $9 per month for 300 credits.
A few specific cases where it tends to outperform the obvious alternatives:
- Recovering detail from low-resolution phone screenshots
- Cleaning up faces in group photos taken in low light
- Removing arbitrary objects without leaving smears
If you need a quick, broad-strokes photo fix and you do not want to think about which model to use, this is the default that holds up.
2. Adobe Firefly
Best for: people already living inside Photoshop or Lightroom.
Generative Fill inside Photoshop turns the lasso-and-fill workflow into a one-prompt operation. None of this is novel as a capability as MIT Technology review noted in its overview of generative imaging, open-source models have done it for years. The pitch is having it inside the application you already use.
The downside is the price of entry. It requires a Creative Cloud subscription if you want the in-app integration.
3. Topaz Labs (Photo AI, Gigapixel AI, Sharpen AI)
Best for: photographers who care about preserving real texture rather than inventing new pixels.
Topaz is the closest thing the industry has to a specialist’s tool. Their upscaling and denoising models are unusually conservative they aim to recover what the lens captured rather than synthesize a more photogenic version of the scene. For wildlife, sports, and landscape work that matters. For social media, it does not.
Pricing is a one-time license rather than subscription, which some people prefer.
4. Luminar Neo
Best for: portrait work and stylized landscapes.
Luminar’s strength is sliders in three or four clicks. Good for volume work where consistency matters more than originality.
What to look for when choosing
Three questions will narrow the field faster than reading a comparison chart.
How often will you use it? If the answer is “a few times a month,” a per-use credit system beats a subscription. If the answer is “every day for client work,” a flat monthly fee beats credits. Most generalist tools, including AIEnhance.io, now offer both, but the default plan is rarely the right one for your actual usage, so check.
Do you need outputs to look real or to look good? Topaz preserves; Firefly invents. Both are useful. For a print sale, you want preservation. For Instagram, invention is fine. The distinction is worth being deliberate about because the wrong choice produces images that look great on a phone screen and fall apart when blown up to A3.
Where will the output go? A web tool that exports JPG at 2K is fine for social media. A 4K upscale is overkill for a 1080-wide blog post but necessary for print. Match the output spec to where the image actually lives, not to what you can technically extract.
A note on artifacts
Every AI photo tool produces them.
Faces sometimes turn slightly waxy. Skin loses pore detail under aggressive denoise. Hair edges go soft on a heavy upscale. The art of using these tools well is knowing when to back off, running an image through the strongest setting almost always produces a worse result than the moderate one. Researchers at the Stanford Institute for Human-Centered AI have written extensively about why this happens at a technical level, but you do not need the technical background to apply the rule of thumb.
The rule: if you can tell the image was AI-edited at a glance, you went too far. If a viewer has to look twice to spot any change, you went the right amount.
Where things go next
The trend that matters most is not better quality. Quality is already high enough for almost any practical use.
The shift that is actually coming is consolidation of all of these capabilities folded into a single conversational interface. Instead of choosing between an enhancer, a generator, a cleaner, and a background remover, you describe what you want and the tool routes the request to the right model in the background. AIEnhance.io is partway there. The rest will follow.
For now, the working strategy is simple: pick one tool that covers most of your work, and accept that you will reach for a second tool for the edge cases. That is a better outcome than trying to find the one app that does everything and ends up doing nothing exceptionally well.
The good news is that the eighty-percent tool exists, costs ten dollars a month, and is in a browser tab away from where you are reading this.