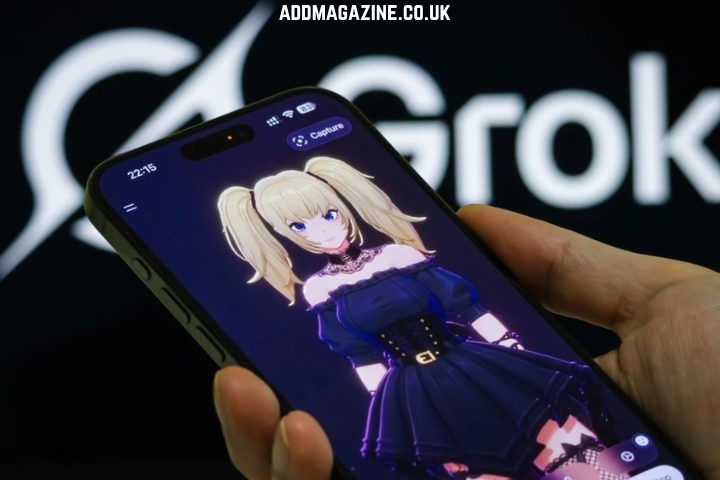
Many aspiring creators want to experiment with AI images and videos but do not have a large budget for cameras, editing software, actors, or studio equipment. A free Grok Imagine workflow can offer a practical starting point for learning how to develop visual ideas and test creative concepts.
However, free access may come with limits. Depending on the current service terms, users may encounter restrictions related to generation volume, resolution, available formats, watermarks, commercial use, or account features. Creators should always review the latest conditions before using AI-generated content for business or client work.
For personal experiments and early learning, Free Grok Imagine can be explored as a starting point for building basic AI visual content.
Why Start With a Free AI Workflow?
A free workflow gives beginners a chance to learn without making a large financial commitment. It can help users understand prompt writing, visual composition, storytelling, and editing before they decide whether they need advanced features.
Free AI visual workflows may be useful for:
• Testing creative ideas
• Building personal projects
• Planning social media content
• Creating simple storyboards
• Practicing visual prompts
• Developing blog illustrations
• Exploring video concepts
The goal should be learning and experimentation. A free option may be enough for casual projects, but professional requirements should be reviewed separately.
Step 1: Start With a Small Project
Do not begin with a full campaign or long video. Choose a project that can be completed in a few scenes.
Good options include:
• A three-scene story
• A short product concept
• A visual quote
• A simple tutorial
• A social media background
• A short travel idea
A smaller project makes it easier to understand what works and what needs improvement.
Step 2: Write a Clear Creative Brief
Before generating anything, write a short brief containing four elements:
Topic: What is the content about?
Audience: Who will see it?
Purpose: What should the viewer understand?
Style: How should the content feel?
For example:
The purpose is to show how a simple idea becomes a finished video. Use warm colors, clean backgrounds, and a positive educational tone.”
This brief can guide every prompt in the project.
Step 3: Create a Prompt Template
A prompt template saves time and improves consistency.
A simple template may include:
“Use [lighting], [color palette], and [camera angle]. The mood should be [mood]. The content is designed for [audience] and should communicate [message].”
Keep the basic structure the same while changing only the topic-specific details.
For example, you can use one template for product scenes, another for educational scenes, and another for social media backgrounds.
Step 4: Change One Element at a Time
When experimenting with a free tool, it is useful to change one part of the prompt at a time.
You can test:
• Different lighting
• Different camera angles
• Different color palettes
• Different locations
• Different emotional tones
This helps you understand how each instruction affects the result. If you change everything at once, it becomes difficult to identify which part of the prompt created the improvement.
Step 5: Build a Small Prompt Library
Save your most useful prompts in a document. Organize them into categories such as:
• Portraits
• Product scenes
• Travel visuals
• Workspaces
• Educational diagrams
• Creative backgrounds
• Short video concepts
A prompt library makes future projects easier. It also helps you develop a personal visual style over time.
Creators who want to connect still visuals with motion can explore Grok Imagine AI Video as part of a broader content workflow. The exact availability, limits, and usage conditions should be checked before relying on any tool for regular production.
Step 6: Plan the Final Format
Before generating a visual, decide where it will be published. A vertical social media video may need a different composition from a blog image or presentation graphic.
Consider:
• Vertical or horizontal layout
• Space for captions
• Mobile readability
• Background details
• Image resolution
• Brand colors
If the image will include text, leave enough empty space for headlines. A visually complex background may make the final design difficult to read.
Step 7: Use Free Tools for Learning
A free workflow is especially valuable for skill development. Use it to practice:
• Writing prompts
• Describing camera movement
• Planning scenes
• Choosing visual styles
• Creating consistent characters
• Editing short clips
• Adding captions
These skills remain useful even if you later move to another tool or paid plan.
Step 8: Review Usage Rights
Before using generated content for a business, review the current terms of the service. Check whether commercial use is allowed and whether attribution or additional permissions are required.
Be careful with:
• Famous characters
• Logos
• Public figures
• Brand identities
• Copyrighted artwork
• Real-world news events
AI generation does not automatically remove legal or ethical responsibilities.
Step 9: Create Content From One Visual
A single image or scene can support several content formats.
For example, one visual of a creator planning a project could become:
• A social media post
• A short productivity video
• A blog illustration
• A presentation slide
• A visual checklist
• A tutorial thumbnail
Repurposing helps creators make better use of limited free access and reduces unnecessary generation.
Step 10: Know When a Paid Workflow Is Necessary
Free tools are useful, but they may not meet every professional requirement. You may eventually need higher resolution, more generation capacity, commercial permissions, or advanced control.
Before upgrading, ask:
Do I need more output each month?
Do I need commercial usage rights?
Do I need longer videos?
Do I need more consistent results?
Do I need a specific format?
A paid plan should solve a real problem rather than be purchased simply because more features are available.
Common Mistakes to Avoid
One mistake is assuming that free access means unlimited usage. Always check the current terms.
Another mistake is generating content without a clear purpose. A beautiful image may still be ineffective if it does not support a message.
Creators should also avoid publishing the first result without reviewing it. Check text, proportions, objects, captions, and overall context.
Frequently Asked Questions
Is Free Grok Imagine suitable for beginners?
It can be useful for beginners who want to learn prompt writing and explore visual storytelling with small projects.
Can free AI-generated content be used commercially?
Review the licensing and usage conditions before publishing commercial work.
What should I create first?
Start with a simple three-scene story, social media visual, product concept, or educational illustration.
How can I improve results without paying?
Use more specific prompts, test one variable at a time, create reusable templates, and review each result carefully.
Can free AI visuals support video production?
Yes. They can help with storyboards, scene planning, backgrounds, thumbnails, and early creative development.
Conclusion
Free Grok Imagine can be a practical entry point for creators who want to learn AI-assisted visual storytelling without making a large investment. The best approach is to start with a small project, write a clear brief, use structured prompts, test one variable at a time, and save the most useful results.
Free access is most valuable when it helps creators build real skills. With careful planning and responsible review, beginners can use AI visual tools to develop content ideas, improve creative confidence, and prepare for more advanced production workflows.