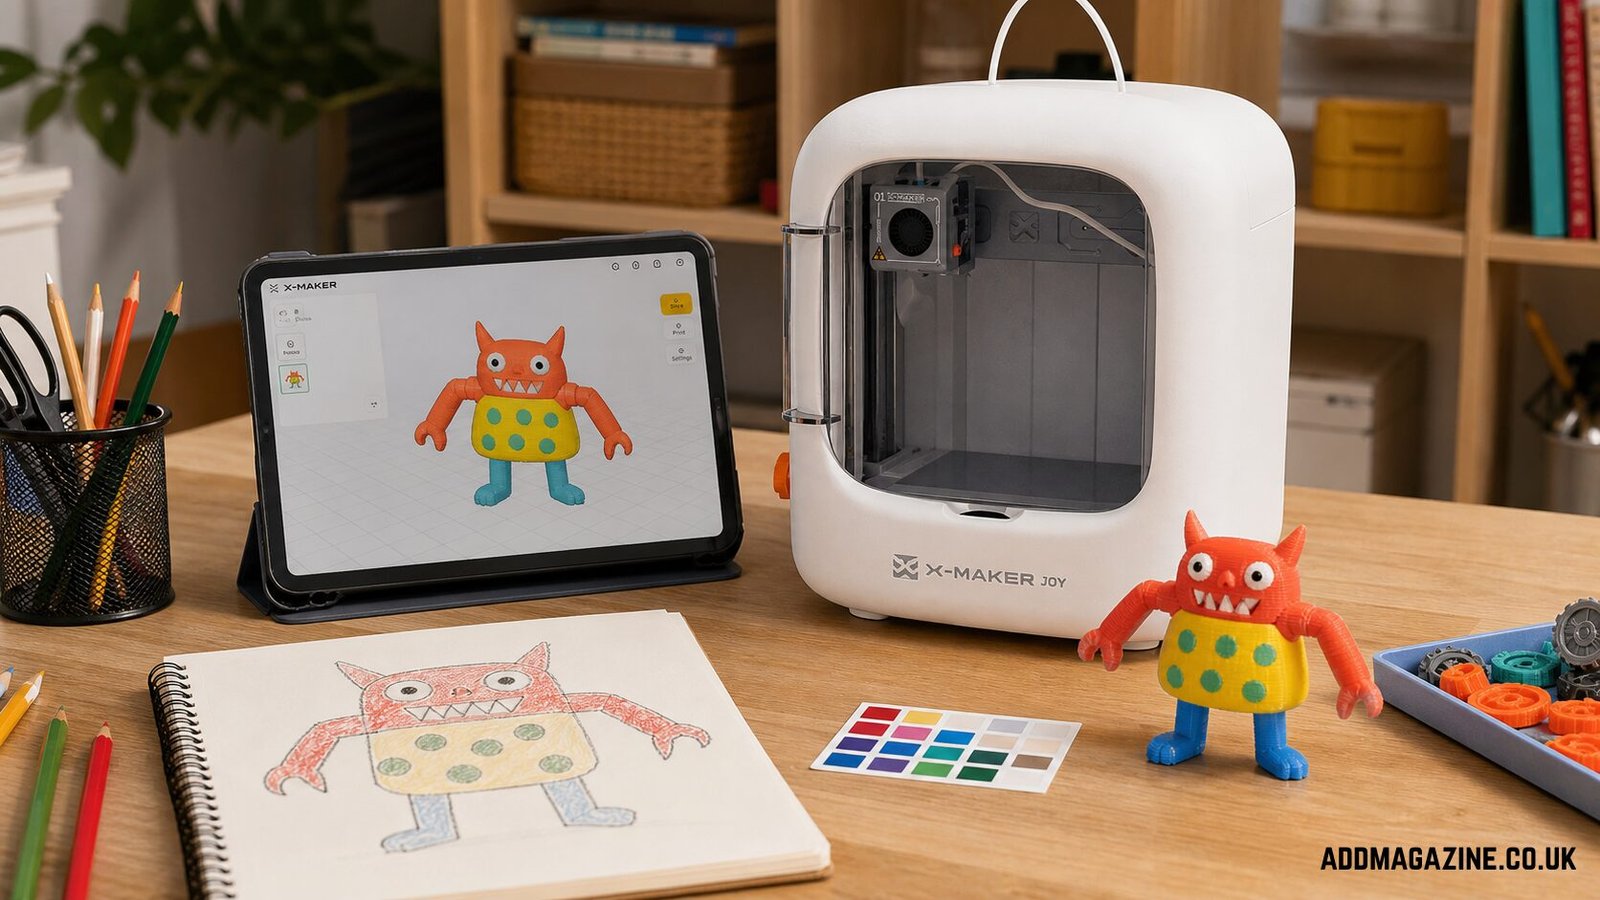
Use AI to explore possibilities while keeping children responsible for the design choices, physical tests, and improvements that make the project meaningful.
What AI can—and cannot—do in a family 3D printing project
AI can help a family move past a blank page, compare several visual directions, or produce a rough image or 3D form. It cannot guarantee that a model has a flat base, closed geometry, safe proportions, useful dimensions, adequate strength, or permission to reuse protected characters. Treat every output as a proposal that must be reviewed, simplified, measured, and tested.
Step 1: define the job before writing the prompt
Start with a user, an action, and a constraint. For example: Design a friendly desk creature that holds six crayons, stands without support, and fits beside a notebook. This brief gives the child a way to evaluate the result. A dramatic creature can still fail if the openings are decorative, the feet are narrow, or the tail blocks the notebook.
Step 2: write a prompt that supports making
A useful prompt describes the physical job before the style. Children do not need prompt jargon; they need a precise intention that a person or tool can respond to.
- Object and user: what is being made and who will use it.
- Function: the one job the object must perform.
- Essential features: two or three recognizable details.
- Physical constraints: a flat base, sturdy connected shapes, and few delicate projections.
- Style: mood, expression, or visual language after the function is clear.
- Exclusions: no text, no branded characters, no tiny detachable parts, and no unnecessary complexity.
Example prompt
Create three concept views for a friendly crayon-holding desk creature. It must hold six standard crayons, stand on a broad flat base, use one connected body, and have no thin whiskers, spikes, text, logos, or floating parts. Use rounded geometric forms and leave room for a child to change the face and colors.
Step 3: generate options, then make the child the editor
Generate several concepts instead of treating the first answer as final. Ask the child to choose three features to keep and three to remove. The child might keep a rounded body, crooked smile, and spotted pattern while removing thin whiskers, separate teeth, and a floating belt. This visible act of selection preserves authorship.
Step 4: convert the concept into simple geometry
Rebuild the selected idea with a small vocabulary: boxes, cylinders, spheres, rounded forms, holes, and repeated patterns. Start with the body and base, add the functional feature, and add expression last. If an AI tool creates 3D geometry directly, inspect it for open surfaces, disconnected shells, unexpected cavities, excessive polygon detail, and incorrect scale before it enters a slicer.
Choose the file format for the next step
- Use the editable native format while the child is still changing shapes.
- Use 3MF when the supported workflow needs print-oriented metadata or multiple parts.
- Use STL for simple single-part geometry when the receiving workflow requires it; confirm scale because STL does not reliably carry units.
- Use OBJ when color or texture references matter and the destination supports them.
Step 5: score the concept as a physical object
Do not choose only by visual drama. Give each candidate a green, yellow, or red mark for recognizability, stability, part count, fragile details, dimensional function, and whether the riskiest feature can be tested separately. The best concept is the one with the clearest path to a small experiment.
- ☐ Broad, flat contact area
- ☐ Connected arms, ears, wheels, and handles
- ☐ Measured holes and slots
- ☐ No unexplained floating geometry
- ☐ No unnecessary support-heavy detail
- ☐ A testable high-risk feature
- ☐ Adult review of setup, material, and supervision
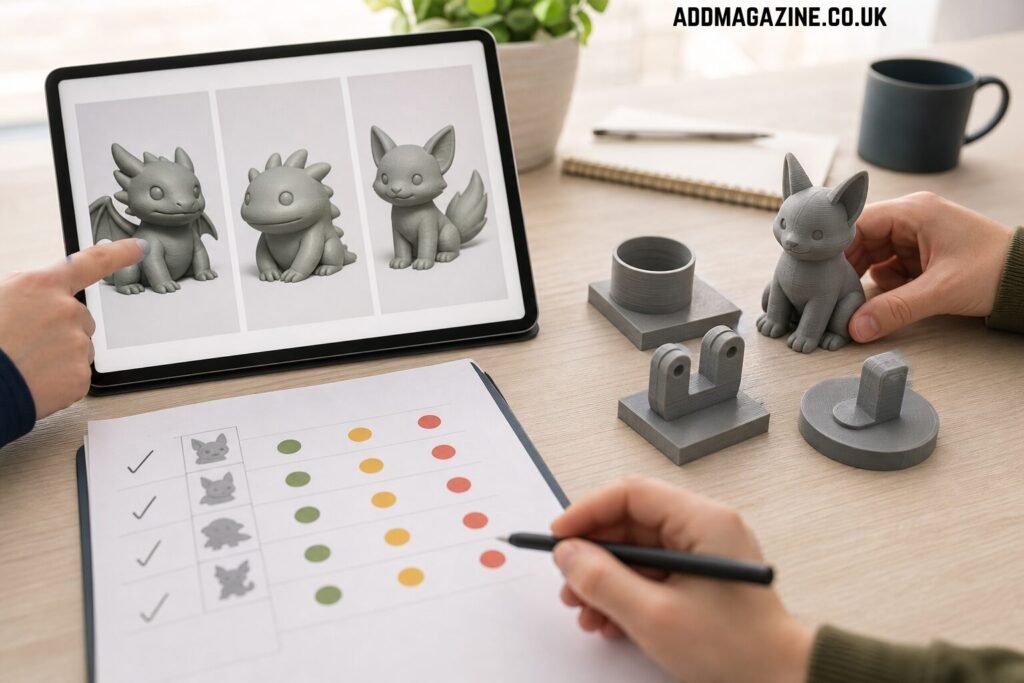
compare multiple generated directions, then isolate a small test coupon before committing to the full print.
Step 6: protect privacy, originality, and adult control
Before uploading anything, the adult should review the tool’s terms, privacy settings, age requirements, and data-use choices. A family project rarely needs a child’s full name, school, address, identifiable face, voice, or location. Use generic descriptions or artwork stripped of personal information. The FTC explains that COPPA gives parents control over certain information online services collect from children under 13; families should not assume every AI tool is designed for direct child use.
Avoid prompts that copy a protected character or distinctive commercial product. Inventing a new creature, game piece, or household helper gives the child more ownership and reduces avoidable publication and sharing problems.
Step 7: print the smallest useful prototype and revise
If the uncertainty is crayon fit, print a short strip with several opening sizes. If balance is the risk, print a reduced body and base. If expression is important, test feature depth on a flat sample. Use the same material, orientation, and profile planned for the final part, and record what the test actually showed.
When the prototype is safe to handle, test it in context. Insert the crayons, place it beside the notebook, and carry it as intended. Change one functional feature and one expressive feature in version two. AI has done its job when it creates more room for observation and revision—not when it removes the child’s decisions.
A seven-step routine to keep beside the printer
- Write a one-sentence brief with a user, action, and constraint.
- Generate several concepts and select features rather than accepting one complete answer.
- Simplify the idea into sturdy, connected geometry.
- Choose an appropriate file format and verify scale.
- Run the physical scoring and adult safety checks.
- Print the smallest prototype that answers the main question.
- Test in context, record the result, and make version two.
Where a guided ecosystem can help
a guided 3D printing platform is one example of a child-centered maker ecosystem that combines guided starting points with an enclosed printing workflow. A 3D printer for kids should reduce navigation and setup friction while leaving the young maker responsible for the concept, one meaningful model change, a prediction, and the final prototype verdict.
Sources and further guidance
- FTC: Children’s Privacy
- NIOSH: Approaches to Safe 3D Printing