
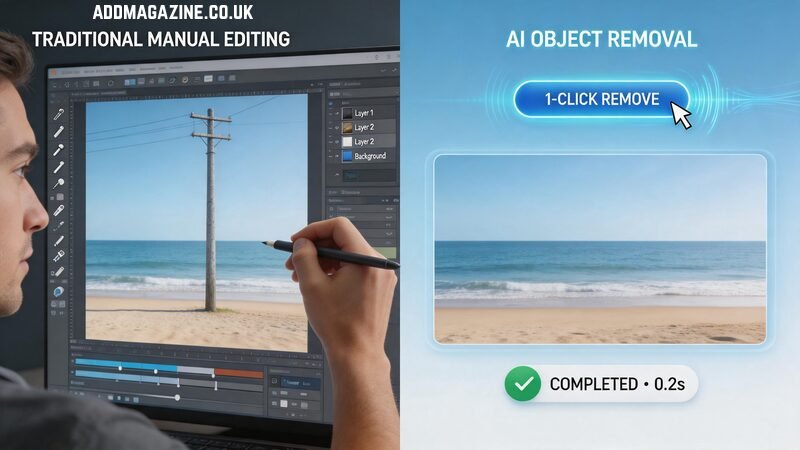
A well-composed product image can instantly lose its impact when an unwanted cable appears in view. A travel shot is almost perfect except for a stranger in the background. A brand graphic would work—if not for the old watermark in the corner. You can fix these problems with hours of manual retouching, or you can try AI object removal and finish in minutes.
This guide compares Object Remover with traditional manual editing for removing unwanted elements from photos. They solve the same problem—clean up distractions—but with different tradeoffs in speed, control, and skill level. You pick the approach that fits the image and deadline, not a mandatory sequence of tools.
What Qualifies as Object Removal—and What Falls Outside Its Scope
Object removal means deleting specific items inside a photo and filling the gap naturally: a person, text, logo, sticker, trash bin, power line, or random clutter.
It is not the same as background removal. If you need a subject cut out on a transparent background, use a Background Remover. Object Remover is for cleaning content within a scene while keeping the overall composition intact.
Manual editing can also remove objects—using clone stamp, healing brush, patch tools, or content-aware fill-in desktop software. The question is when AI saves time and when hands-on control still wins.
Quick Comparison: AI Object Remover vs Manual Editing
Both AI Object Remover tools and traditional manual editing can remove unwanted elements from photos.
The difference is how they balance speed, control, effort, and precision.
Instead of thinking about one method being universally “better,” it is more useful to understand which approach fits your specific image and workflow.
AI Object Remover
Best For
- Fast cleanup tasks
- Social media images
- Blog graphics
- Product photos with minor distractions
- Users without advanced editing skills
What It Feels Like
Simple and beginner-friendly.
Usually works with a brush-and-remove workflow:
- Upload image
- Paint over unwanted object
- Let AI fill the area automatically
Main Advantages
- Very fast for small fixes
- Easy to learn
- No advanced retouching experience required
- Efficient for editing many similar images
- Often web-based and lightweight
Common Limitations
- Large removals may look unrealistic
- Complex textures can confuse the AI
- Reflections and shadows may not rebuild perfectly
- Sometimes requires multiple retries
Manual Editing
Best For
- High-end retouching
- Print-quality images
- Complex product photography
- Detailed texture reconstruction
- Professional design workflows
What It Feels Like
More hands-on and precise.
Editors manually rebuild parts of the image using:
- Clone tools
- Healing brushes
- Layer masks
- Content-aware editing
Main Advantages
- Maximum pixel-level control
- Better handling of difficult textures
- More reliable for reflections and edges
- Higher consistency for commercial-quality output
Common Limitations
- Requires editing experience
- Slower for beginners
- Time-consuming on large batches
- Professional software can be expensive
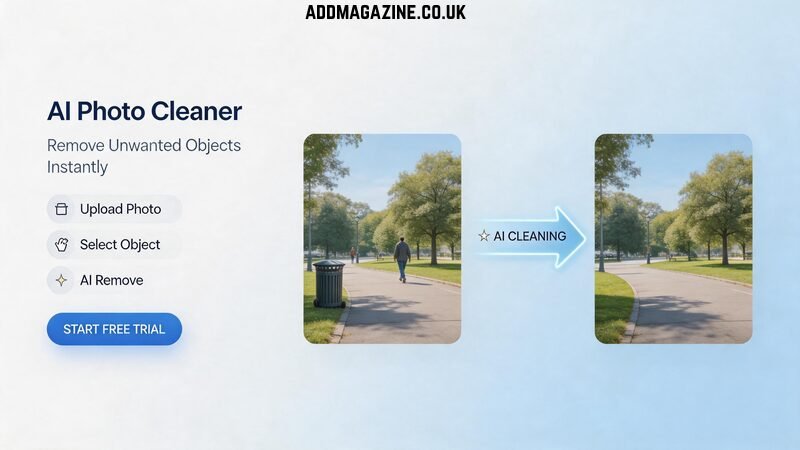
Object Remover: AI-Powered Cleanup with a Brush
Object Remover targets a narrow job: select what you want gone, let AI inpaint the area, download the result.
What Is Object Remover?
Object Remover is an online AI-powered application designed to erase distracting items from images with minimal effort. Simply add your image, highlight the unwanted area with the selection tool, and the AI intelligently reconstructs the space by blending surrounding details, colors, and lighting for a natural-looking result. For transparent cutouts, a dedicated Background Remover is the right category of tool.
When Object Remover Is the Better Choice
AI object removal tends to shine when:
– The distraction is small to medium relative to the frame (a sign, bottle, passerby, logo)
– You are not a retouching specialist and want a simple brush workflow
– You are cleaning several similar shots with the same type of flaw
– The background behind the object is moderately textured but not extremely complex
For many creators, Object Remover is the first option because the learning curve is gentle: upload, mask, remove, review.
Limitations to Expect
AI inpainting can struggle when:
– The masked area is very large (half the image or more)
- – Fine repeating patterns (fence mesh, brick rows) must align perfectly
- – Shadows and reflections of the removed object should remain logically consistent
- – Text overlaps important detail you need to preserve
In those cases, manual editing—or a hybrid approach—may produce cleaner results.
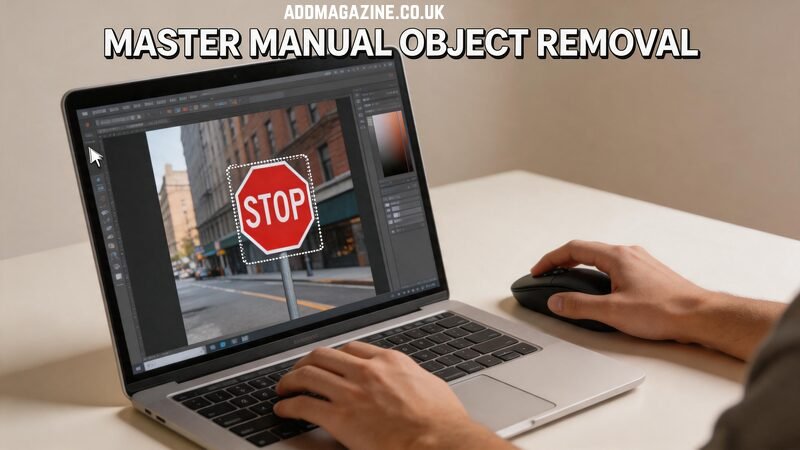
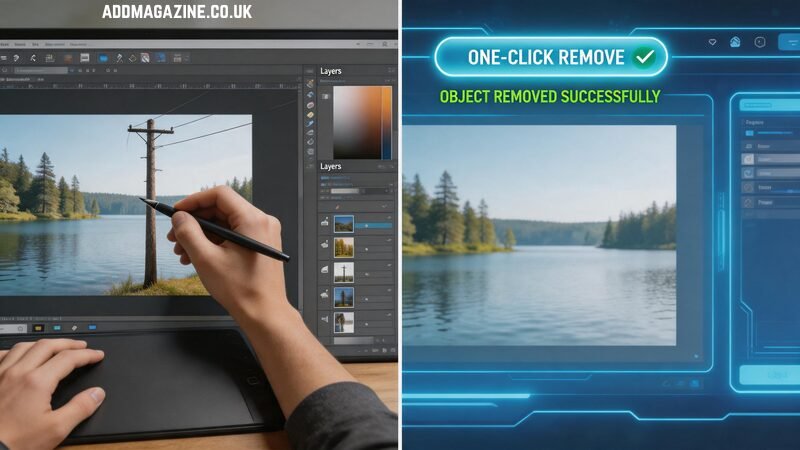
Manual Editing: Maximum Control, Higher Time Cost
Manual object removal in Photoshop, GIMP, Affinity Photo, or similar tools relies on your eye and hand: sample nearby pixels, clone, heal, or rebuild structure layer by layer.
What Manual Editing Offers
Traditional retouching gives pixel-level control. You decide exactly which texture to sample, how hard the brush edge is, and how shadows rebuild after an object disappears. Skilled editors can remove power lines across skies, fix product sets with complex reflections, or rebuild fabric folds where a tag used to sit.
Manual work also helps when brand standards demand flawless output—print catalogs, luxury ecommerce, large hero banners where artifacts show at full size.
When Manual Editing Is the Better Choice
Choose manual retouching when:
– The object sits on a complex or critical area (faces, hands, fine product edges)
– You need repeatable perfection for high-resolution print
– You must preserve specific details adjacent to the removal zone
– You already pay for professional software and know the healing tools well
For experts, small fixes can still be quick. The time cost rises with scene complexity, not with the word “manual” alone.
Limitations to Expect
Manual editing demands practice. Beginners may smear textures or leave visible clone patterns. Large removals take longer, and batch editing dozens of files becomes a production task—not a five-minute cleanup.
Same Problem, Two Paths: Example Scenarios
Scenario A — Website Banner Displaying an Unintended Brand Mark
You have generated a photo from text using AI tools like Vheer, but a corner logo breaks the mood. Object Remover’s brush covers the logo; AI fills sky or wall texture. Total time: a few minutes. Manual editing would also work but likely takes longer unless you are already in Photoshop.
Scenario B — Product display featuring reflective surfaces and partially overlapping label elements
A glossy bottle reflects studio lights, and the unwanted element crosses the highlight. Manual cloning preserves the reflection geometry more predictably. AI may blur the specular highlight or warp the label edge.
Scenario C — Batch of user-generated photos for a campaign
Twenty images share the same small clutter issue. Object Remover’s repeatable mask workflow often beats twenty manual sessions, even if one or two frames need a touch-up afterward.
Same task category—object removal—different winners based on complexity and scale.
Hybrid Approach (Optional, Not Required)
Some editors use Object Remover for the first pass, then manual tools for edge cleanup. That is a personal preference, not a required pipeline. Think of it as two methods on a menu, not step one and step two you must always follow.
Practical Tips for Either Method
– Mask slightly beyond the object edge so the model or clone tool blends into clean surrounding pixels.
– Work on a copy of the original file; keep an unedited master archived.
– Zoom to 100% before signing off; small artifacts disappear on thumbnails but show in print.
– Match expectations to output size. A social crop hides minor flaws that a poster would expose.
– Know your tool category. Object removal cleans inside the scene; background removal isolates subjects.
FAQ
Can AI replace professional retouchers?
For many everyday images, AI is enough. High-end commercial work still benefits from manual skill on difficult textures and large removals.
Which is cheaper for occasional bloggers?
For occasional image edits, using an Object Remover is often quicker and more cost-effective than mastering advanced manual retouching techniques.
What if AI leaves a blurry patch?
Retry with a tighter mask, or switch to manual healing for that region only.
Does manual editing always look better?
Not always. For straightforward distractions, AI-based object removal can often deliver results comparable to manual editing in less time. Poor manual cloning can look worse than a good AI fill.
Wrapping Up
AI object removal vs manual editing is not a contest with one permanent winner. Object Remover fits quick, brush-based image cleanup of unwanted people, text, watermarks, logos, and clutter when you want speed and simplicity. Manual editing fits complex scenes where pixel control, reflections, and print-grade perfection matter. Choose based on the image in front of you, keep your originals safe, and remember that object removal and background removal solve different problems entirely.